Have you ever thought about starting your own marketplace? Whether you want to connect buyers and sellers of handmade goods, vintage finds, or digital products, Shopify has you covered. So, how do you create a marketplace on Shopify?
To create a marketplace on Shopify, sign up for an account with Shopify. Then, open the Shopify app store and install the ShipTurtle app to create the marketplace on top of Shopify’s system. From here, you will be able to invite vendors to upload products and more.
Shopify is a great platform for launching your marketplace because it offers everything you need to get started, including built-in tools for product listings, payments, shipping, and customer management. Learn more about what Shopify has to offer. Ready to get started? Let’s go!
Recommended Shopify app (built by us)
Fileflare Digital Product Delivery
Digital product delivery on Shopify + file protection. This includes unique features no other app has, such as email tracking, fraud protection, file protection, IP address download limits and much more.

1. Choose your marketplace model
The first step in creating your marketplace is deciding which type of marketplace you want to build. There are three main types of marketplaces:
- Peer-to-peer. In a peer-to-peer marketplace, buyers purchase goods and services directly from sellers. The most popular example of a P2P marketplace is Etsy.
- Business-to-consumer. In a business-to-consumer marketplace, businesses sell goods and services to consumers. Examples of B2C marketplaces include Amazon and Uber.
- Business-to-business. In a business-to-business marketplace, businesses sell goods and services to other businesses. The most popular B2B marketplace is Alibaba.
2. Set up your Shopify store
Now that you know which type of marketplace you want to create, it’s time to set up your Shopify store. If you don’t already have a Shopify account, follow these steps:
- Start a free trial on Shopify
- Provide the information needed in the prompts that appear.
Tip: Once you’ve set up your store, take some time to customize the look and feel of your site using Shopify’s themes and design tools. Remember that first impressions count, so make sure your site looks professional and inviting!
Here’s a cool video that provides tips for designing your Shopify store:
3. Install the marketplace app from the Shopify App Store
Now that your store is up and running, it’s time to install the right app from the Shopify App Store to turn it into a full-fledged marketplace. Shopify doesn’t have its own built-in marketplace tools, so you need to use a Shopify-approved app to integrate. Here are some of the top picks:
- ShipTurtle. This app provides automated shipping for marketplace orders, making it easy for you to keep track of your sellers’ products and orders.
- Big tip – do not use the WebKul MultiVendor Marketplace Shopify app. We have used them in the past when building a marketplace, and they have caused some severe issues for our clients. They stolen money using our PayPal API and their support was not helpful with this either. ShipTurtle are incredible.
Simply follow the instructions in each app’s listing to get started.
Note: Before choosing any app, be sure to read the reviews and check out the app’s features to make sure it’s a good fit for your marketplace.
4. Configure your marketplace settings
Now that your marketplace apps are installed, it’s time to configure your settings. Here are some of the things you’ll need to do:
Allow vendors to set up seller profiles
Give your sellers a place to showcase their products and tell their stories by setting up seller profiles. You can do this by following ShipTurtle’s guide to setting up a sign-up page.
In short, you will need to:
- Create a registration page
- Add the ShipTurtle registration code to that page
- Add the registration page to your navigation, so its easy to find
From there, you will be able to see vendors register to be a seller on your store. You will be able to go in the ShipTurtle app and approve the vendor if you want.

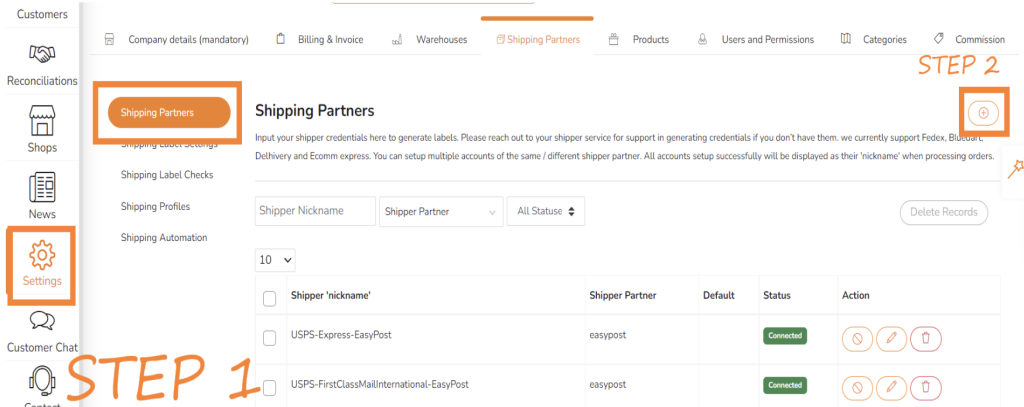
Configure shipping
Set up shipping rates and methods for your marketplace. ShipTurtle has a wide selection of integrations that work for shipping, depending on what country you are based in.
Learn more about how to integrate shipping.
Enable customer reviews
Encourage customers to leave reviews for purchased products. That can help build trust and credibility for your marketplace. See this article to learn how to add reviews to Shopify.
Configure your payout system
You will want to automate your payouts to vendors. This will save you a lot of hassle. You can use ShipTurtle’s basic payout system.
Video run-through of ShipTurtle
Extra: Promote your marketplace
Now that your marketplace is up and running, it’s time to start promoting it! There are a few key things you can do to get the word out:
- Create social media accounts for your marketplace and start posting interesting content.
- Run ads on Google, Facebook, and other platforms to reach new customers.
- Contact vendors in your niche to sign up and add their products.
- Reach out to bloggers and influencers in your niche and offer them products or services from your marketplace in exchange for a review or mention on their blog or social media channels.
- Participate in online and offline events related to your niche. For example, if you have a marketplace for handmade goods, you could participate in craft fairs or other events where your target customers are likely to be.
Conclusion
With these steps, you’ll be well on your way to launching your own successful marketplace using Shopify!
Just remember to start with a clear plan, set up your shop carefully, and choose the right apps to power your marketplace. With a little effort, you’ll be connecting buyers and sellers in no time!